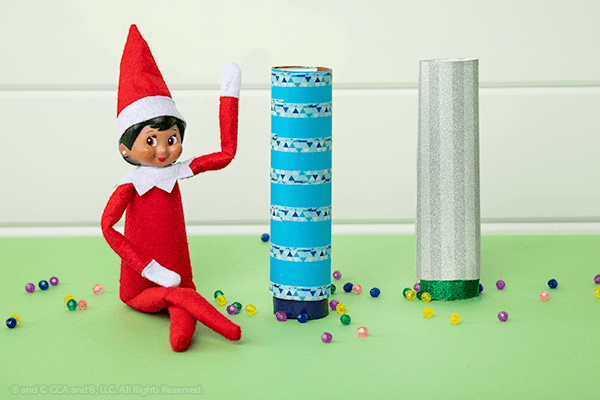
Colors and light collide in a dazzling display within these homemade kaleidoscopes—a vibrant craft that will captivate children! Follow five easy steps to build a kaleidoscope little ones can use to explore indoors and outdoors. Just like Scout Elves are mesmerized by the Northern Lights that illuminate the North Pole, kids will be fascinated by the combinations of colors they see twirling and swirling round and round. Happy crafting!
You’ll Need:
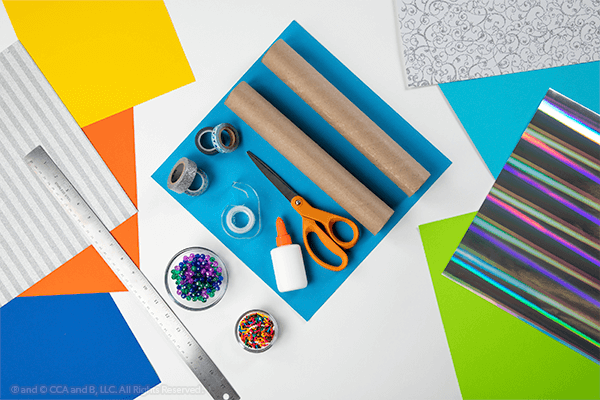
- 2 paper towel rolls
- Wrapping paper, scrapbook paper or fabric
- Stickers, glitter or decorative tape (optional)
- Reflective paper
- Scissors
- Clear tape
- Glue
- Ruler
- Marker
- Clear plastic
- Beads, sprinkles or pompoms
Instructions:
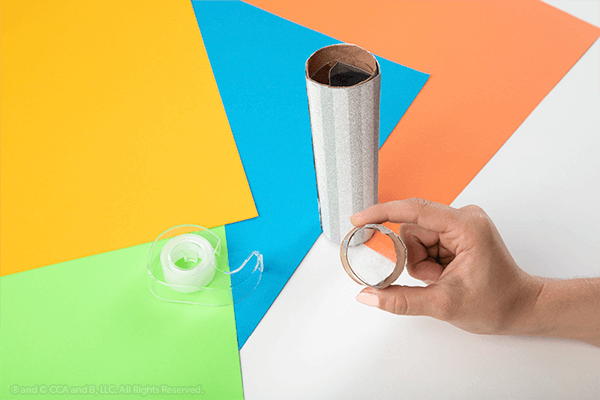
- Cover one paper towel roll using wrapping paper, scrapbook paper or fabric. Helpful hint: This will be the main part of your kaleidoscope, so decorate further with stickers, glitter and more.
- Cut a 4″ x 4″ piece of reflective paper.
- Make two even folds, creating a triangle with the reflective paper. Tape it together.
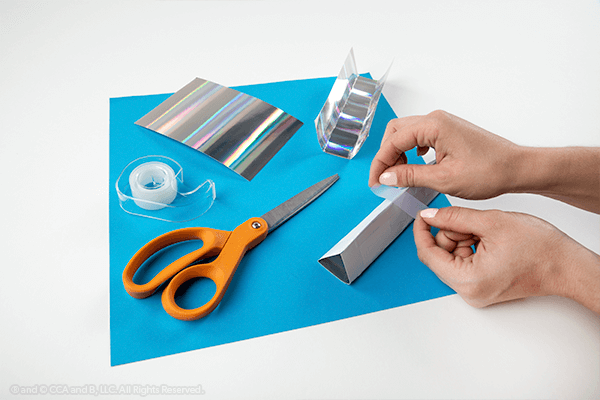
- Slide the triangle into the paper towel roll, and cut the paper towel roll so it aligns with the triangle. Helpful hint: If the triangular piece is a little loose, use glue to secure it to the inside of the paper towel roll.
- While indoors, encourage children to use their kaleidscope to view patterned pieces of paper or bowls filled with beads, sprinkles, pompoms, etc. Then, they will see how the colors create unique patterns and designs. While outside, encourage them to look at flowers and trees that are blooming. Bonus—the reflecton and refraction in the kaleidoscopes provides a STEM lesson!
Bonus Steps:
Want to keep crafting? Follow these additional steps to attach a secure endcap, creating a more complete kaleidoscope.
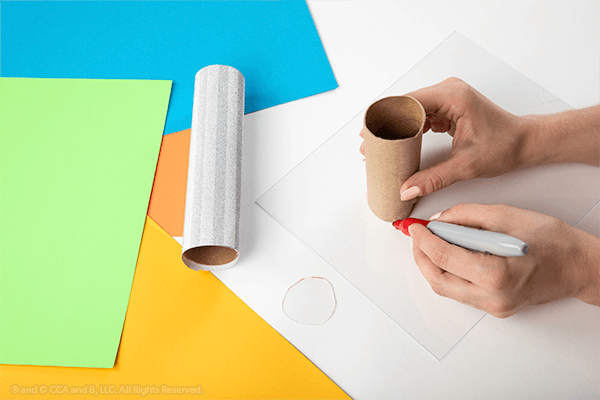
- First, trace two circles onto a piece of plastic using the second paper towel roll as a guide. Then, cut the circles out, and place one in one end of the kaleidoscope, resting on top of the reflective paper. Helpful hint: You may need to trim the circle to get it to fit in the roll.
- Using the second paper towel roll, cut a small piece off the end, approximately 1 inch thick. Cut the circle open, and then, overlap the two ends approximately half an inch to create a smaller circle. Tape it together.
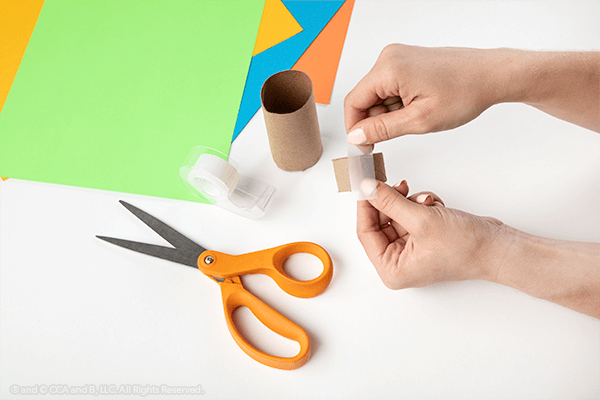
- Place it in the end of the kaleidoscope over the plastic. Make sure you can turn this piece back and forth.
- Once you are confident it can rotate, remove it from the kaleidoscope.
- Then, tape the second plastic circle on top of this to create an endcap.
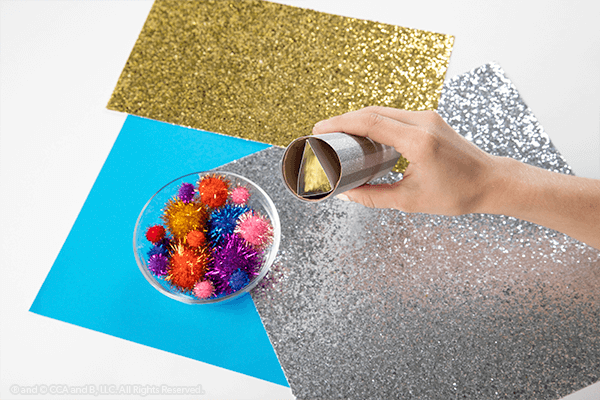
- Fill this endcap with beads, sprinkles, glitter or other small, shiny and colorful objects.
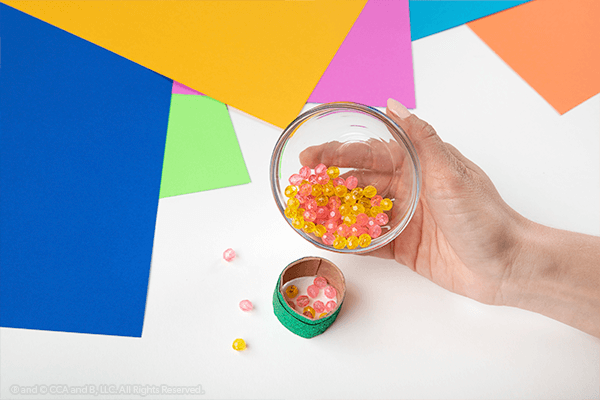
- Place the endcap, now filled with objects, back into the end of the kaleidoscope with the plastic piece, so the objects won’t fall through.
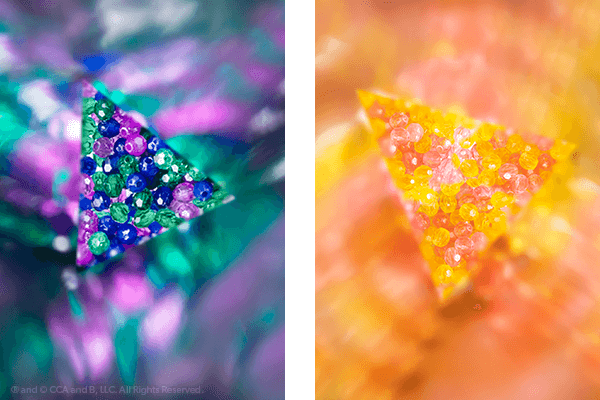
- Rotate the endcap back and forth while looking through the other side. Use your kaleidoscope in great light to help the colors illuminate. Little ones will be mesmerized by the beautiful colors they see swirling back and forth!
Please remember that when attempting the craft included in this post children should always be supervised by an adult. When using crafting supplies or products, always read manufacturer’s instructions and warnings.